Redownloading the media from PowerApps app is no longer available out of the box. Let’s explore the workarounds we have!
Together with my colleague Dhaval, I was working on the PowerApps app. I uploaded the image to the media library. I was surprised when he told me to send him the image via Teams. He wanted to use it with another app.
I was sure that exporting media from the app was available for a long time. It turns out it's not and you need to use workarounds to get the media to your machine.
In this article, we'll go through different ways to export media from the PowerApps app.
Requirements
We'll need:
-
Microsoft 365 account with PowerApps license
-
Some images to upload
-
Browser
Preparing
For this article, I have created a canvas app with two images. One is my son's drawing and the other is 4K wallpaper from the Bing Wallpapers archive.
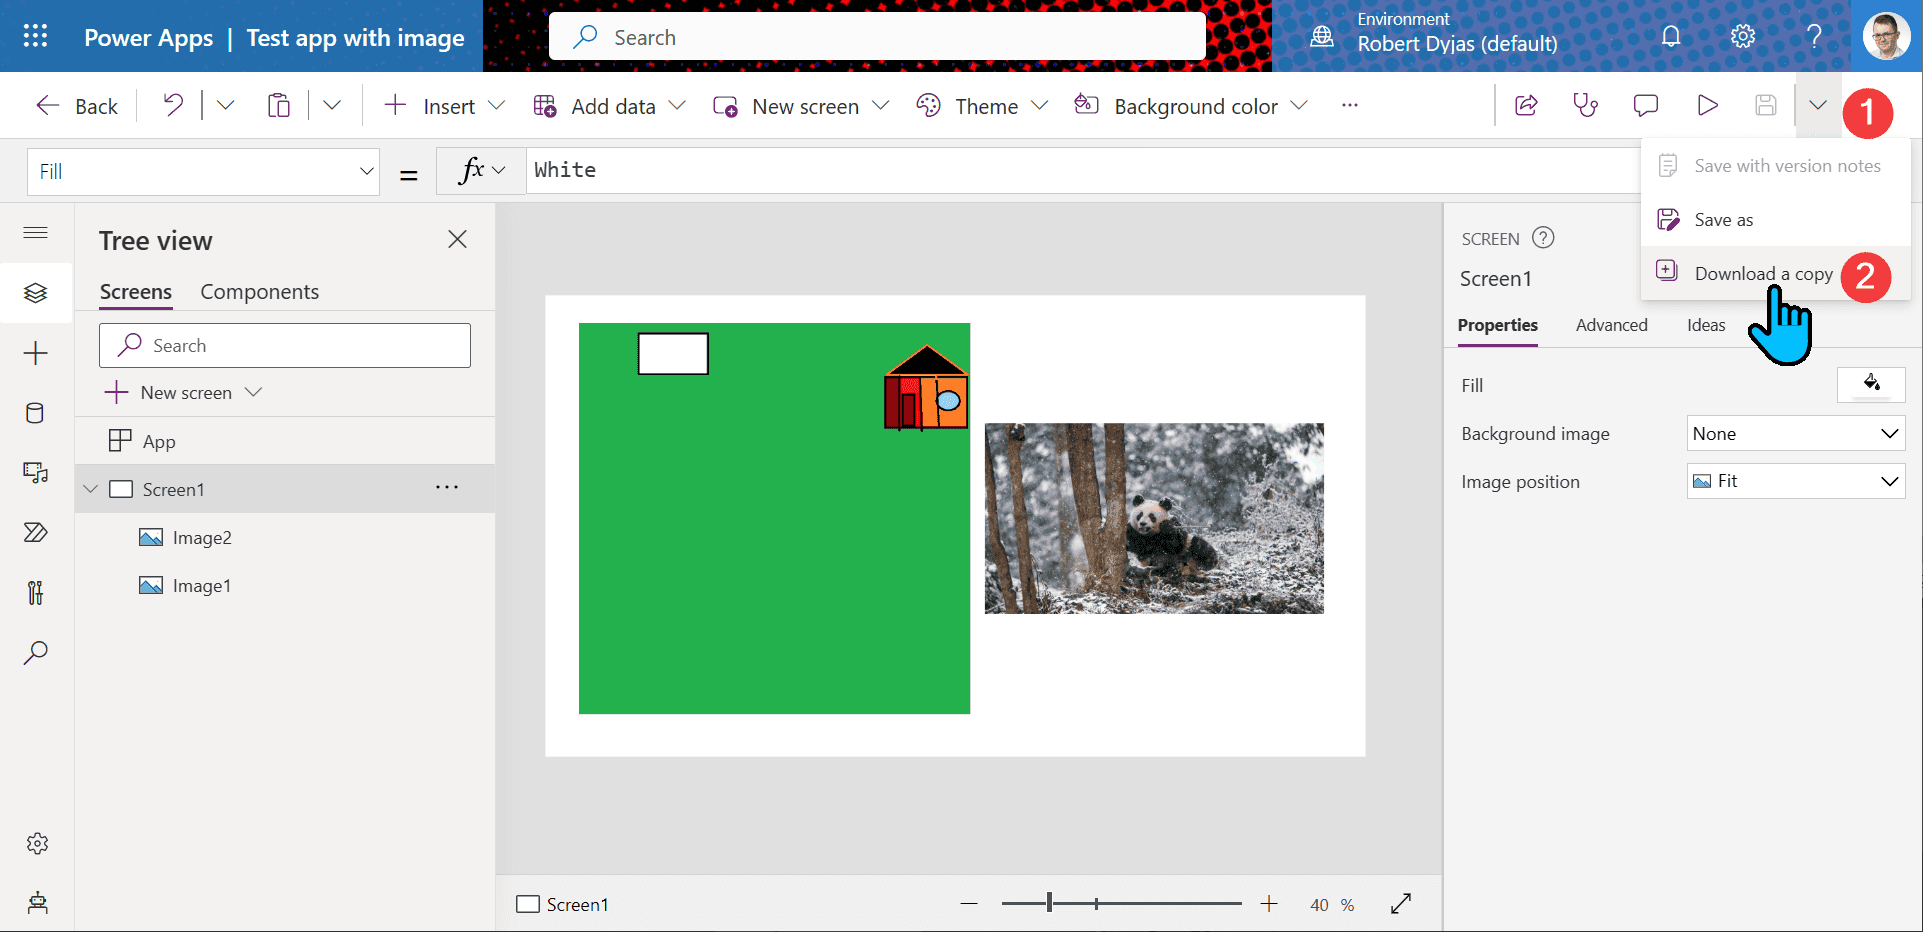
This is what the app looks like:

Canvas app with two images
When I go to the media library in the app, I can see that there is no option to export the media:
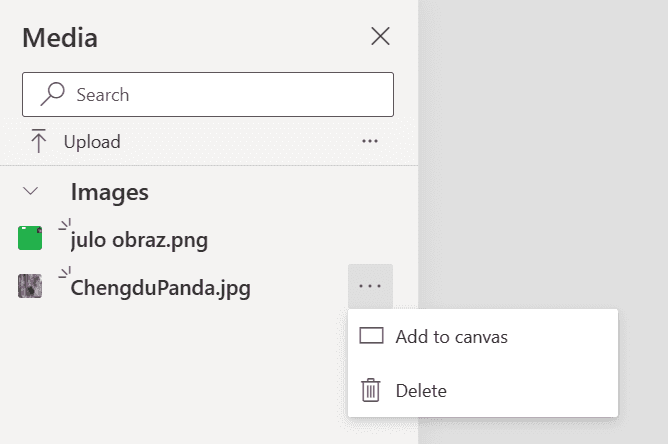
Context menu without the export option
Accessing media with browser dev tools
Our first option to download the media is to use browser dev tools. We need to play our app first. We can do that by accessing its link or using the Play button (top-right corner of the editor):
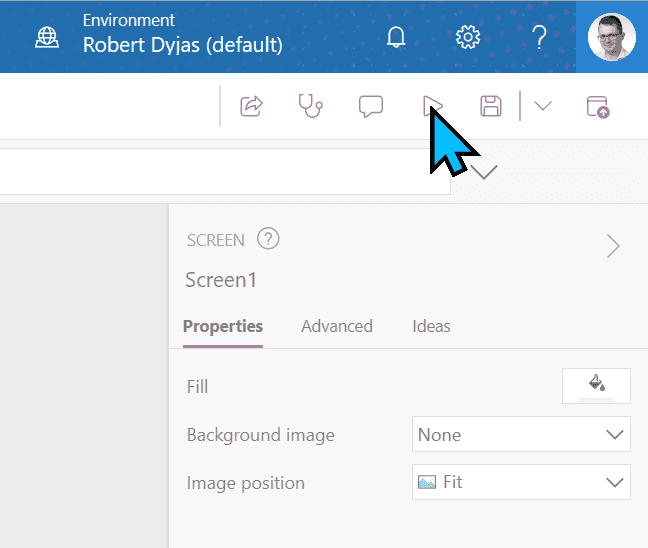
Play button in the PowerApps app editor
From here we can right-click the image and choose Inspect:
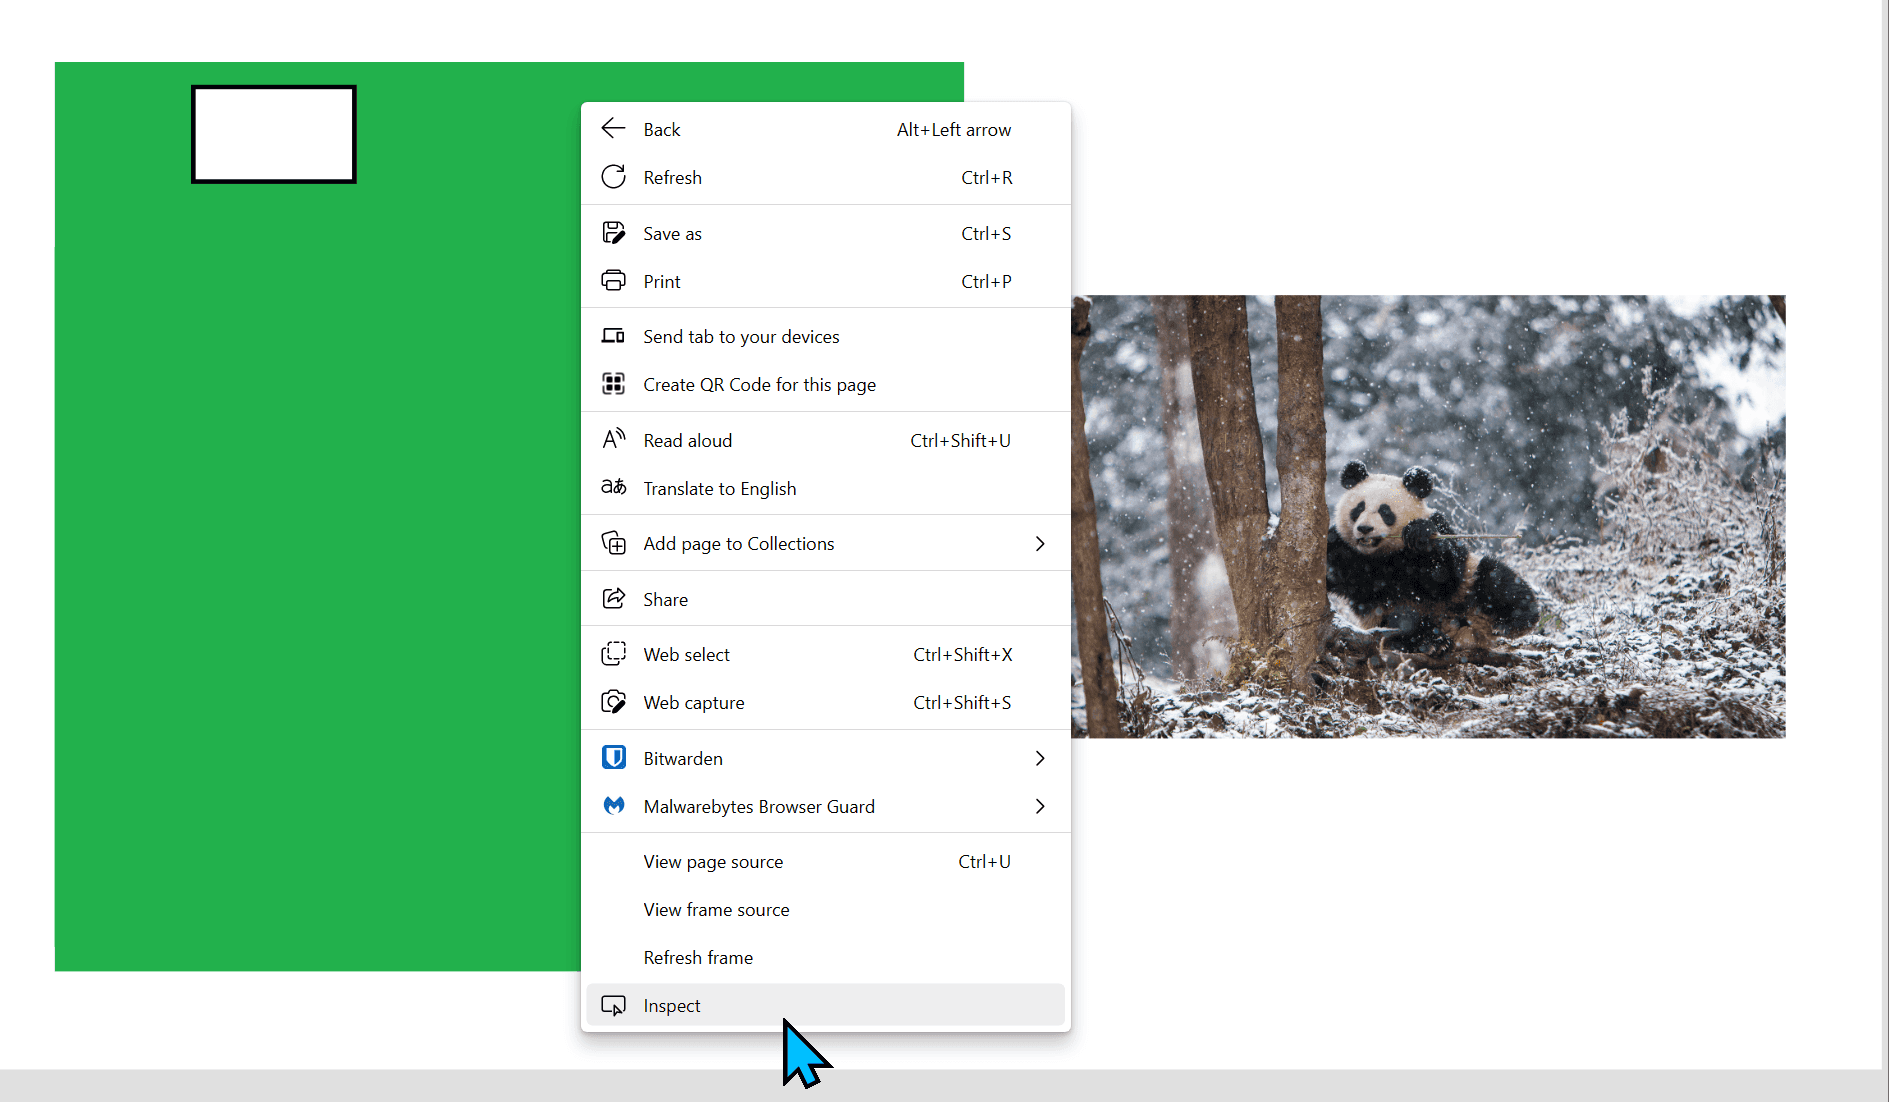
Choosing Inspect button
Tip
I’m using Edge for the screenshots. If you use another browser, the interface might look slightly different. The concept remains unchanged.
The Inspect option will open dev tools. It'll automatically select one of the elements close to the image:
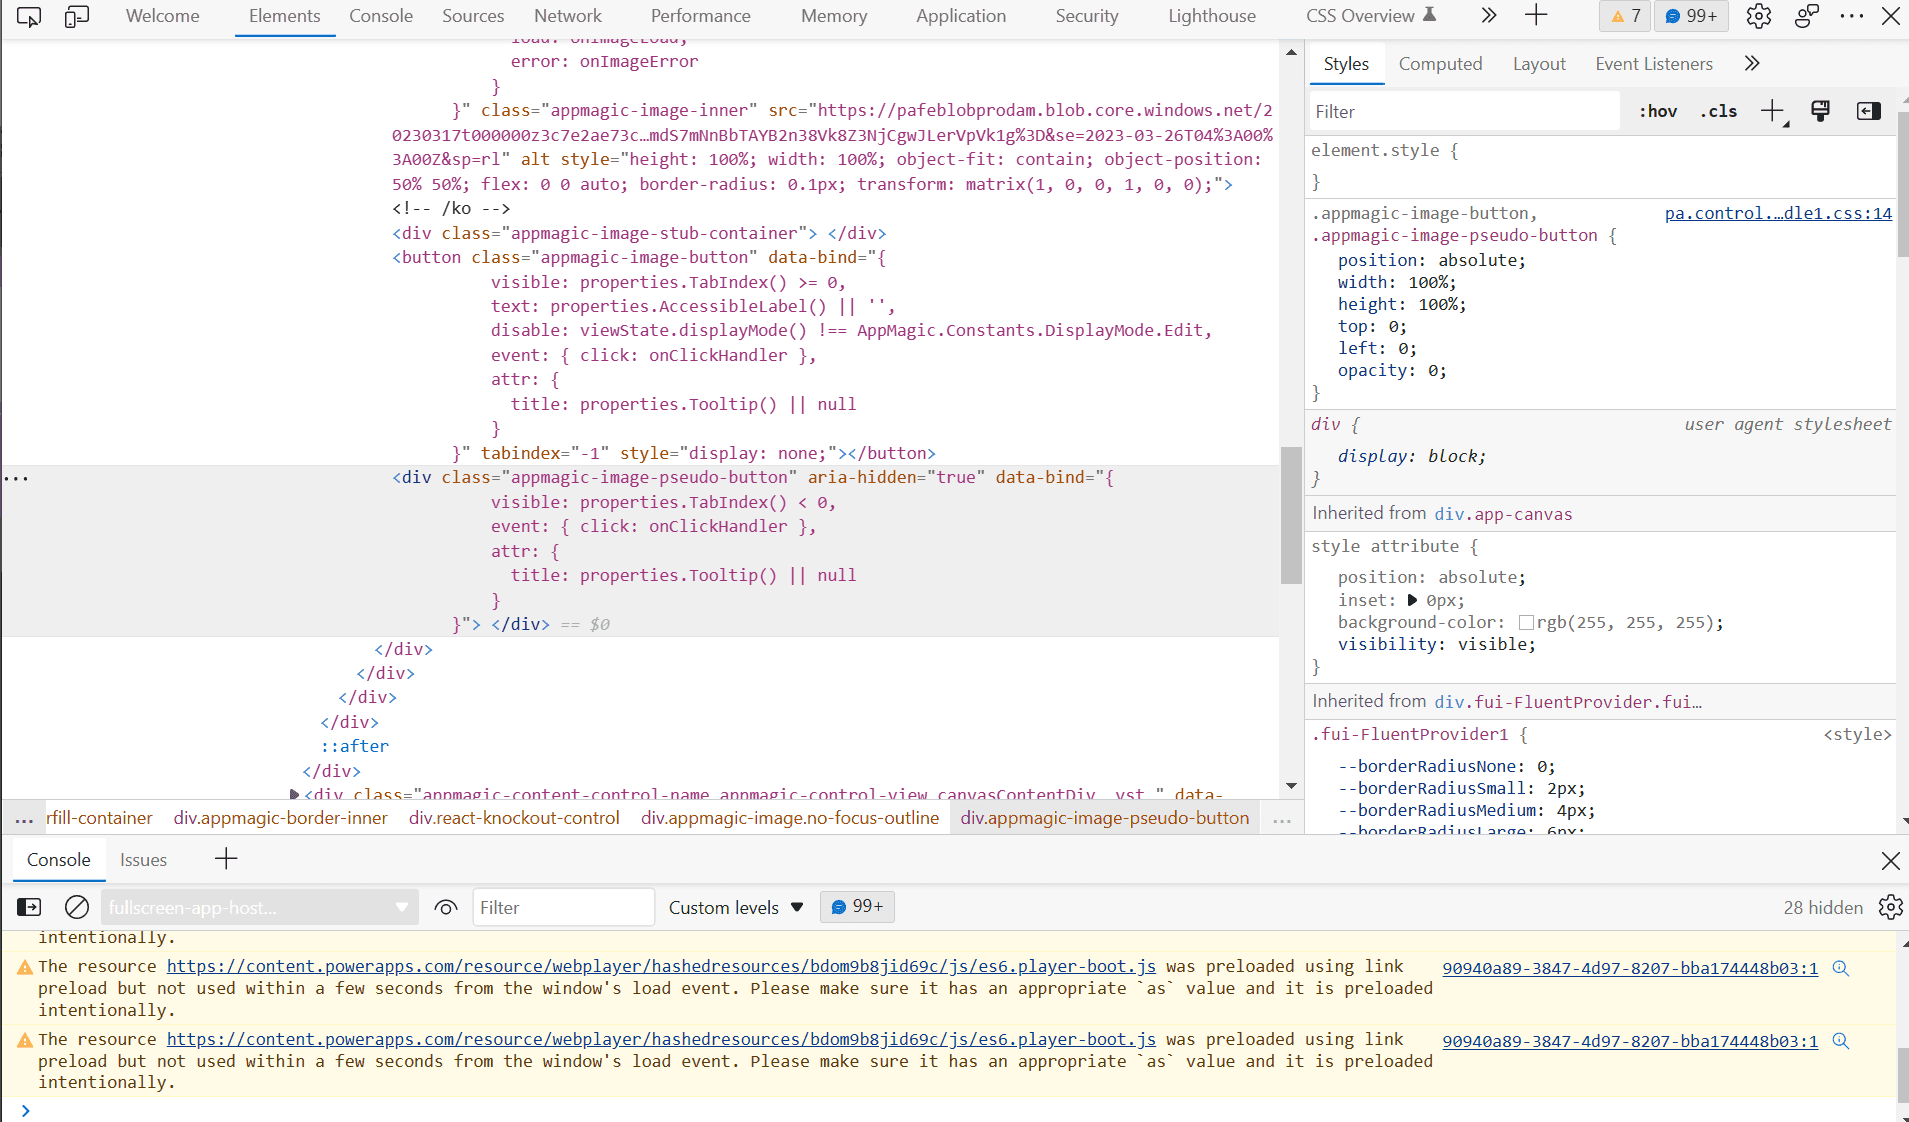
Dev tools with div element selected
From here we need to scroll up and find the img element. It'll have the src property that stores the hyperlink to our image:
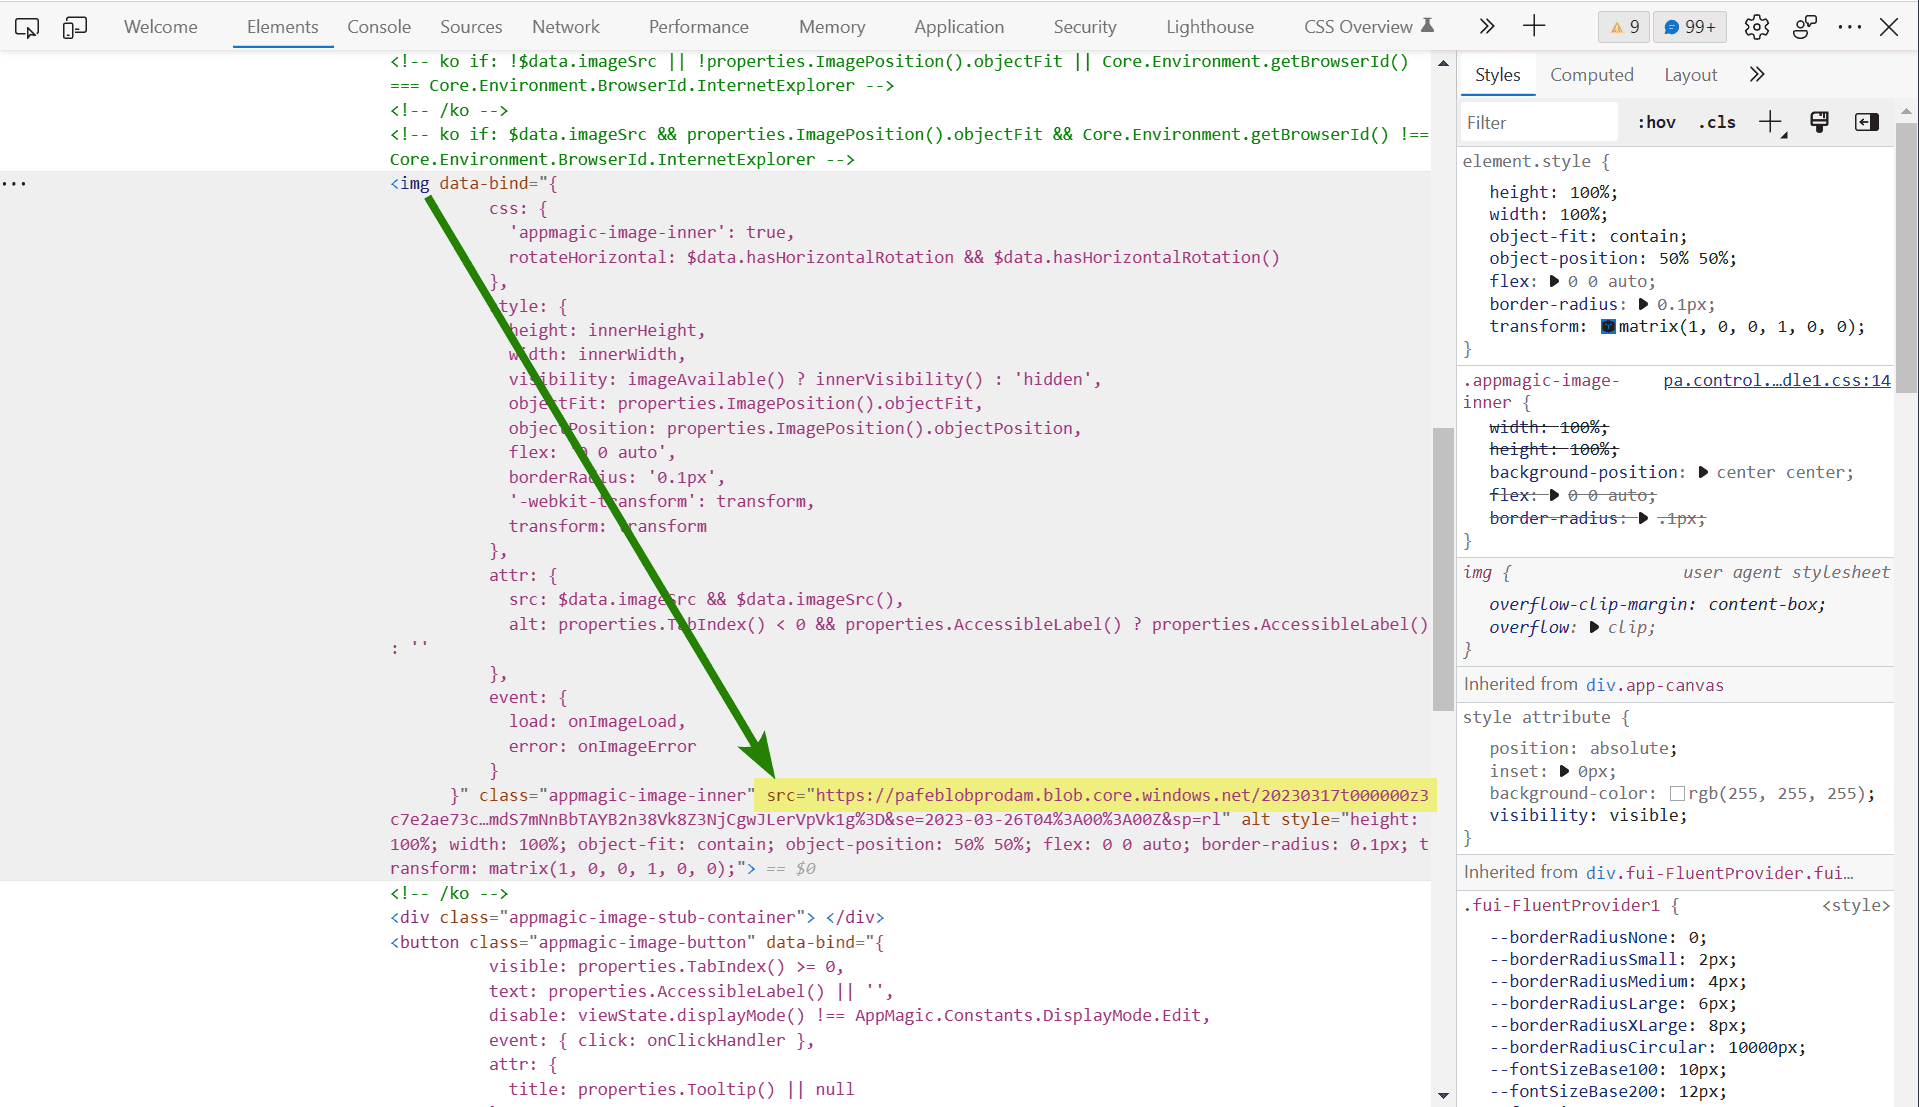
Img element in developer tools
Now when we hover over the hyperlink we'll have the option to open it in a new tab. Let's click the hyperlink:
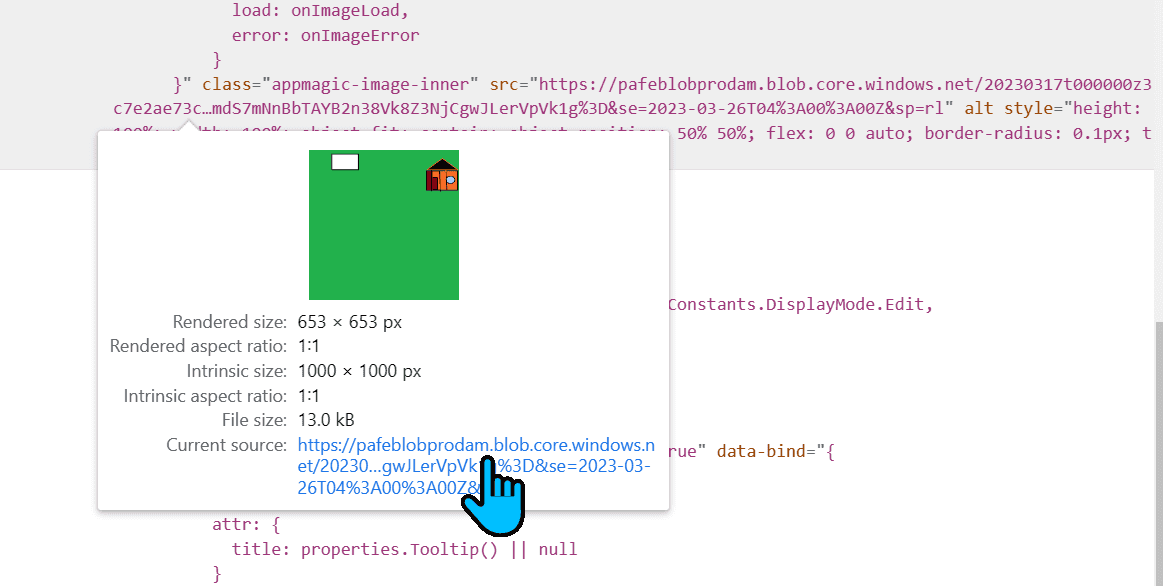
Image link in developer tools
From here we can save it:
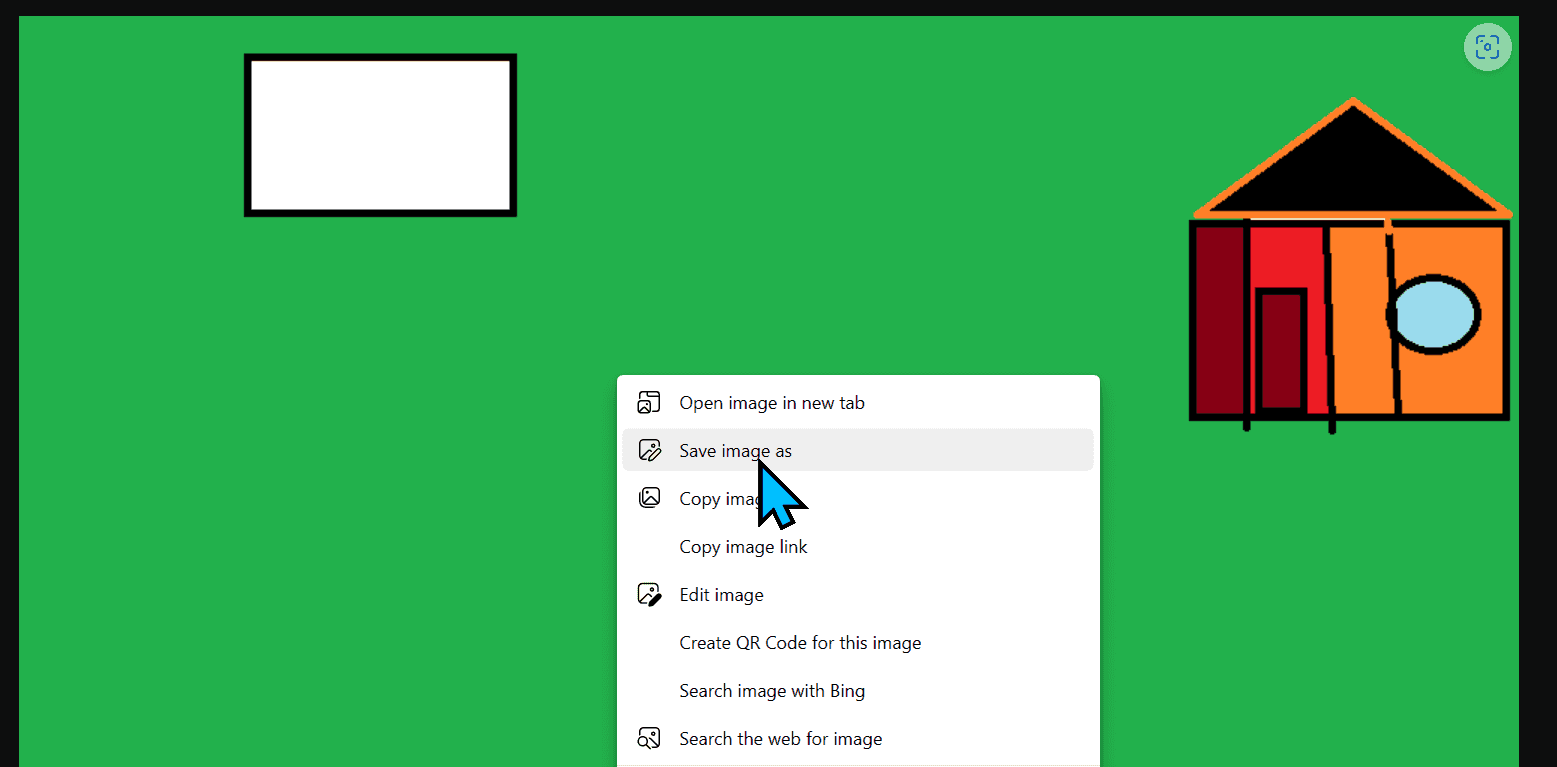
Context menu with the option to save the image selected
Saving the app as a webpage
An alternative option is to save the app as HTML. That option is usually tied to ctrl+s shortcut. We only need to remember about choosing Webpage, complete as a file type:
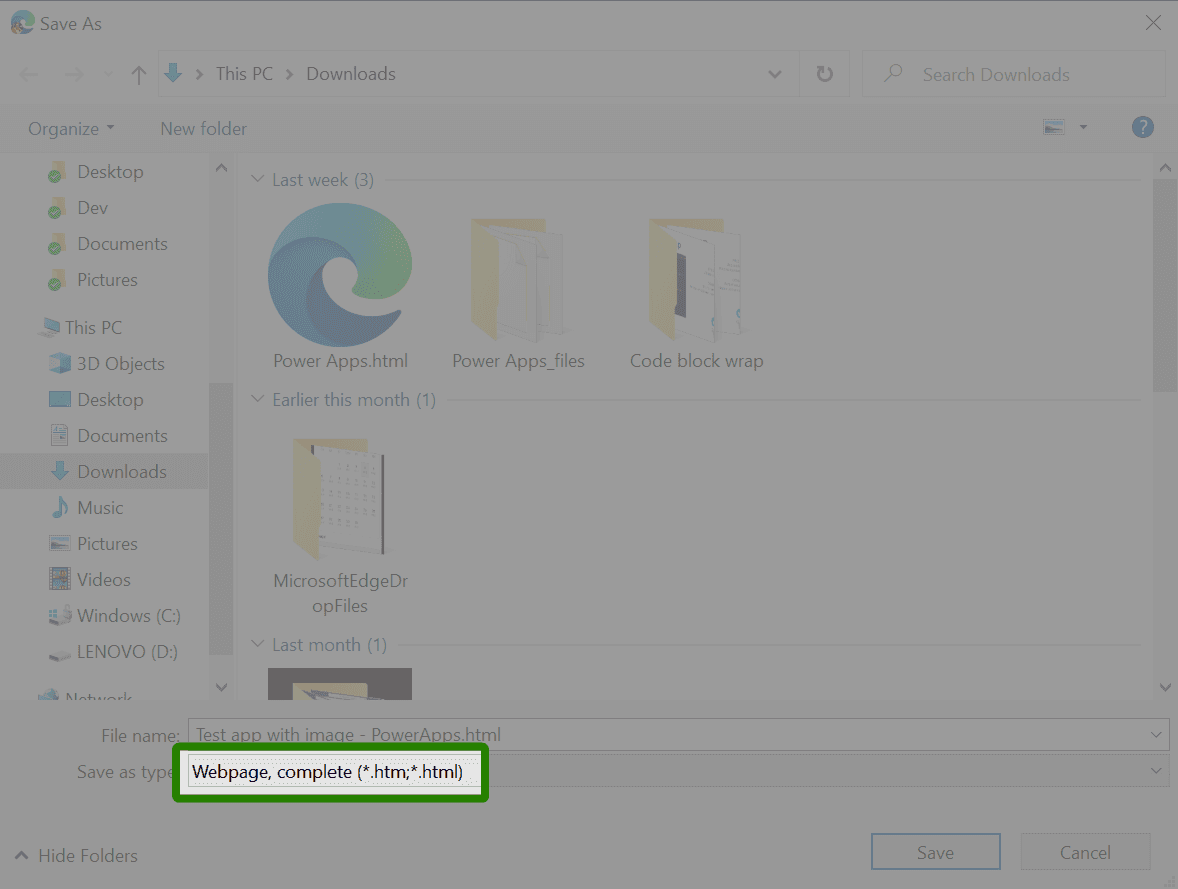
Download window with webpage, complete type selected
As a result, we'll have the HTML file and the folder containing all the files:

Webpage and the folder with associated files in Windows Explorer
The folder contains many files and our two images:
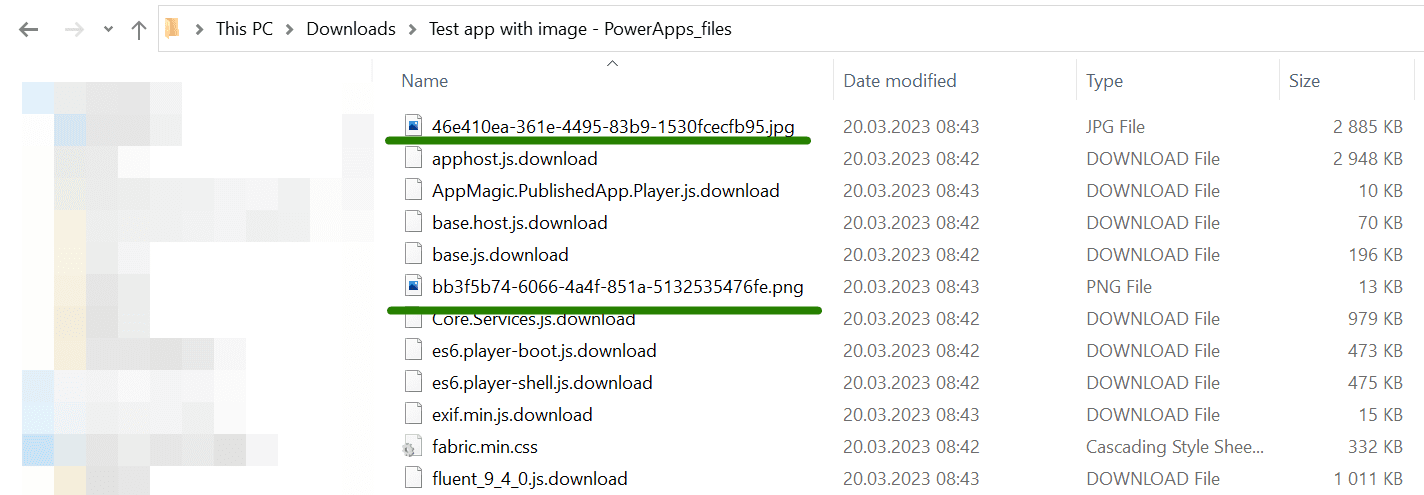
Folder with files, including uploaded images
Tip
Kudos to this Connor551’s helpful answer for the idea.
Exporting the entire app
In the PowerApps portal we have an option to export the entire app. Let's click the three dots and choose Export package:
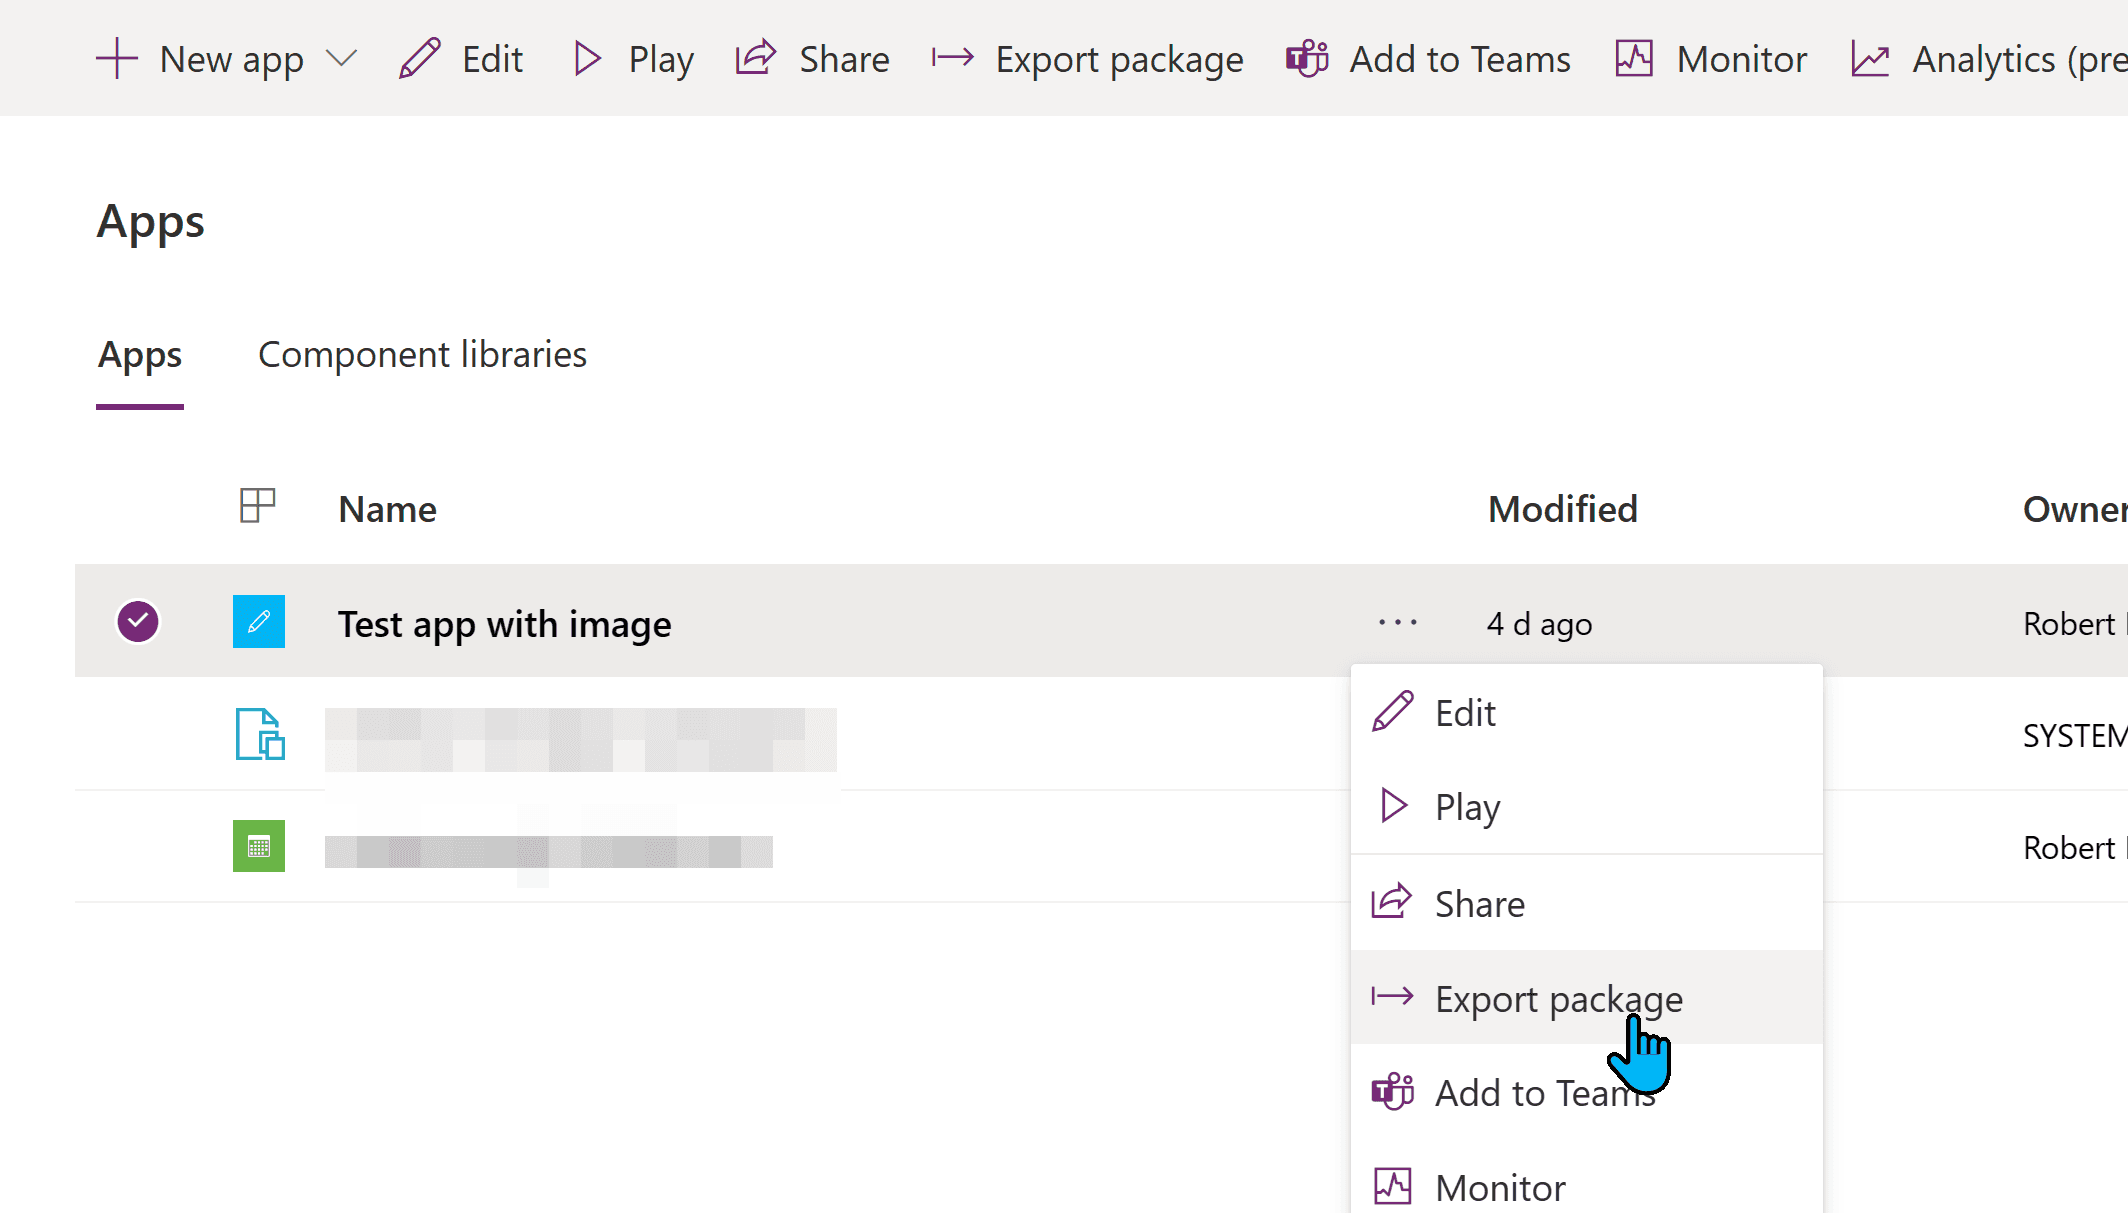
Exporting the app from PowerApps portal
From here we need to put any name (1) and click the Export button (2):
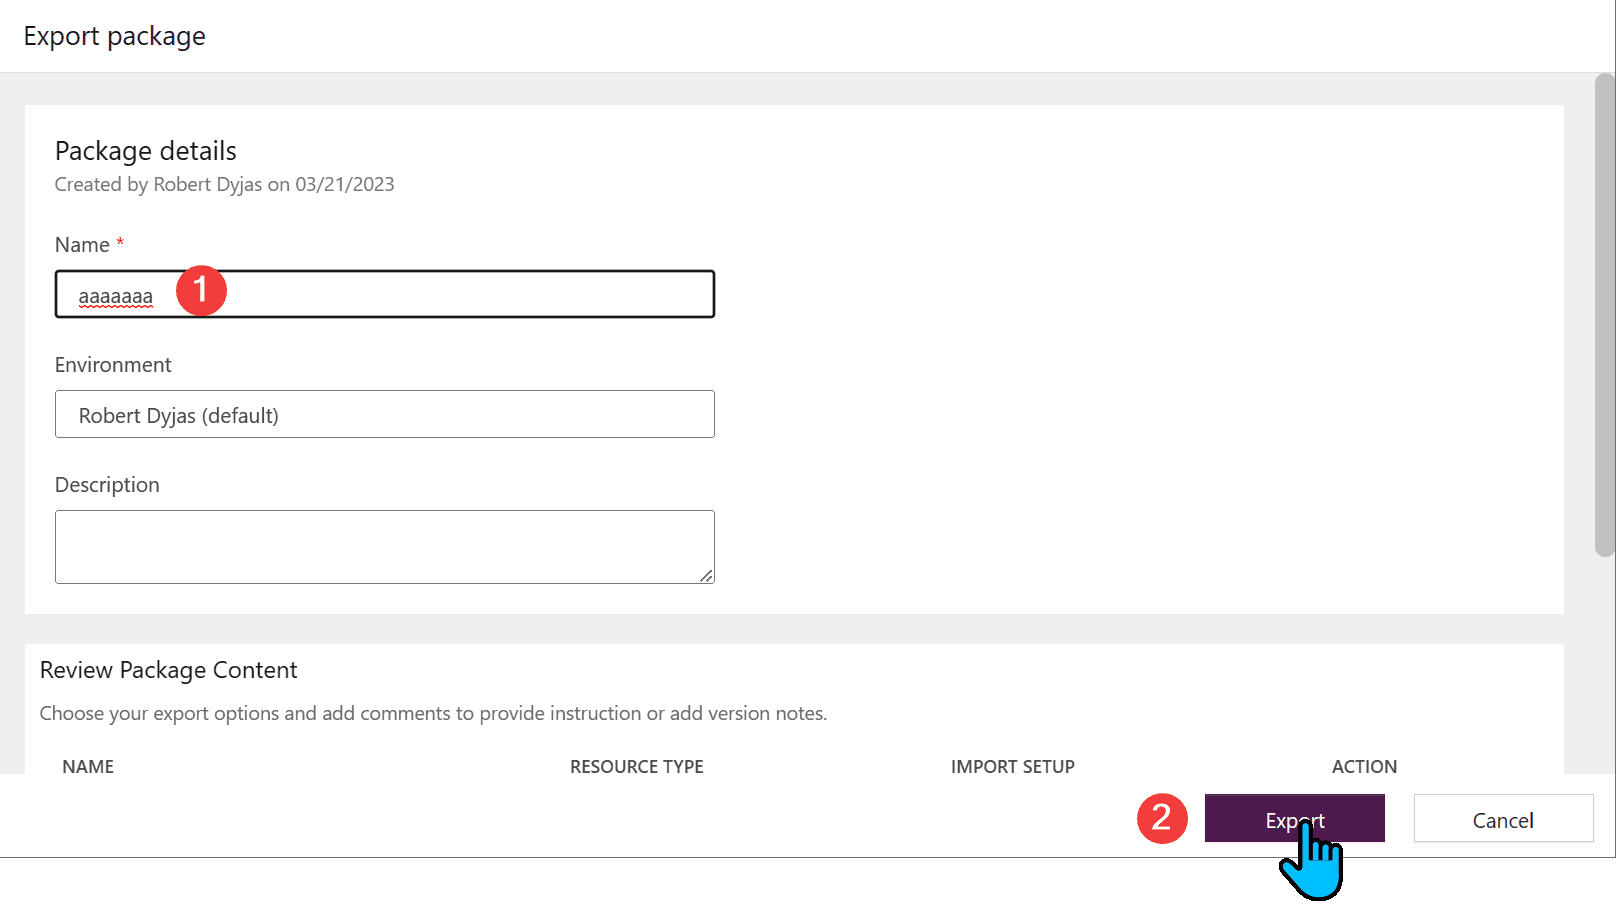
Exporting wizard with random name entered
We'll get the ZIP file. Let's extract it:

Context menu with Extract All option
We follow the extraction wizard with default options. Now we need to go to the folder and find the file with .msapp extension. It will be under Microsoft.PowerApps > apps > guide (long number). Go to the folder (1) and find the file (2):

File with .msapp extension
Rename the file to .zip and confirm:

Changing the extension from .msapp to .zip
The .zip file will have all the images under Assets > Images:

Images located under Assets folder in Images subfolder
Tip
We can get the .msapp file directly from the PowerApps editor. Click the dropdown next to the Save button (1) and choose Download a copy (2):
Downloading a copy of the app from the editor
On the next screen, we confirm the download and we will get the .msapp file straight to your downloads folder. We already know what to do next - rename to .zip and find the folder.
Comparing files with PowerShell
We have the file. But is it exactly the same as our source file?
We can check the file properties and see that the resolution and dimensions are the same for both files.
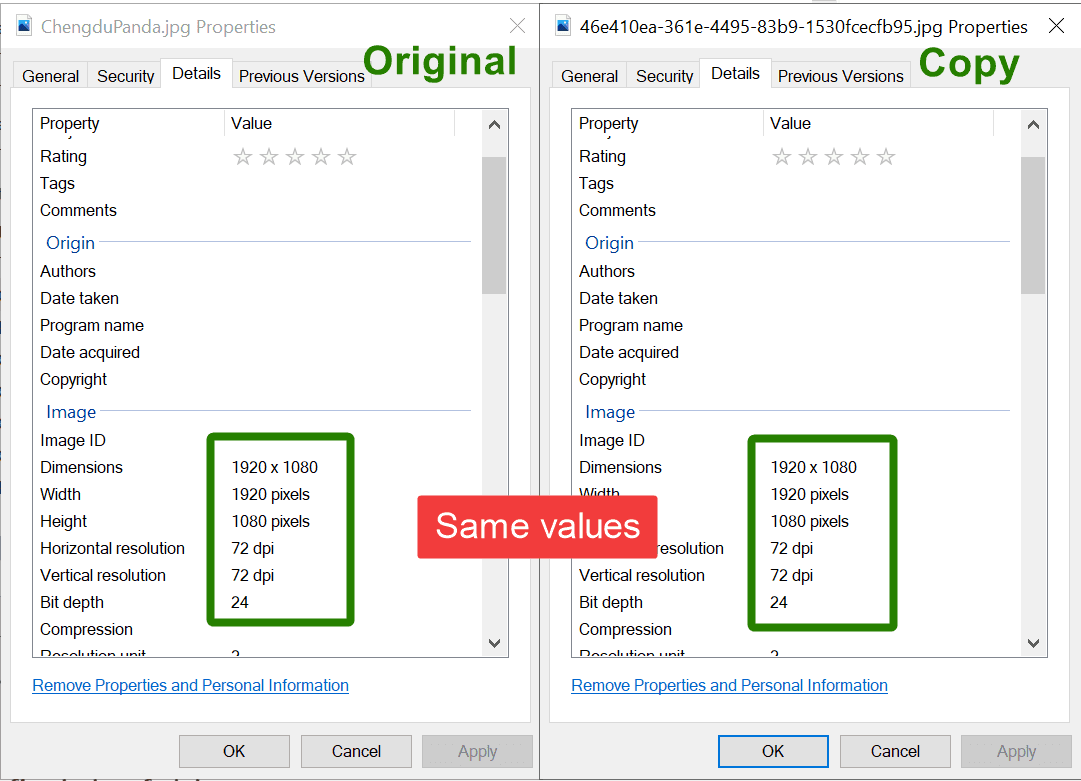
Properties comparison of two files
But, wait for a second. This is a technical blog. Why don't we compare the files in a more techy way? We can use Get-FileHash to compare these two images:
$originalFilePath = "$Home\Downloads\ChengduPanda.jpg"
$downloadedFilePath = "$Home\Downloads\Test app with image - PowerApps_files\46e410ea-361e-4495-83b9-1530fcecfb95.jpg"

# Calculating hashes
$originalFileHash = Get-FileHash -Path $originalFilePath
$downloadedFileHash = Get-FileHash -Path $downloadedFilePath

# Comparing
if ($originalFileHash.Hash -eq $downloadedFileHash.Hash) {
  Write-Host "Files are the same" -ForegroundColor Green
} else {
  Write-Host "Files are different"-ForegroundColor Red
}
Warning
Remember to compare Hash properties. If we try to compare
$originalFileHashand$downloadedFileHashvariables directly, they will never be the same. It is because the object returned by Get-FileHash also has the Path property. The path of two different files will always be different.
Summary
Luckily for us, Microsoft doesn't do any compression of the images uploaded to the PowerApps app. (But remember, it might change anytime in the future.) Thanks to that, we can easily recover the files we uploaded to PowerApps, if we lost their local copy.
